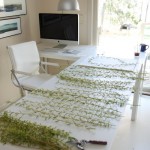
I get asked a lot about my technique. It has been a learning process over the life of STILL, but here is what seems to work best for me.
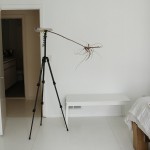
My set-up is quite simple: I use any white paper (usually white tag board), natural light, a not very fancy Canon EOS 5D Mark IV with a good Canon EF-S 17-55mm f/2.8 lens, and Adobe Photoshop. I have a Manfrotto 190CX3 tripod, with a Manfrotto 222 joystick extension. Recently, I started using a translucent collapsible circular diffuser to help soften the light on bright sunny days. I buy most of my equipment online from B&H Photo.
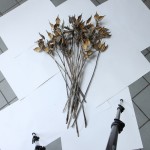
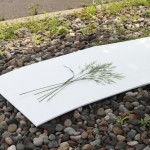
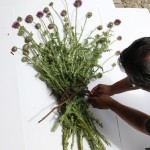
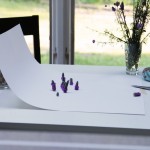
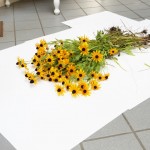
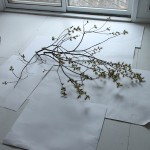
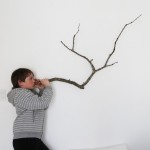
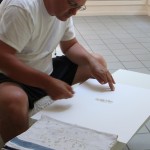
I shoot on white poster board paper–the smoother and brighter the surface the better. I usually put my white paper background on the floor and shoot from above my subject, or I set the paper on my kitchen counter or tape it to a wall and hold the subject up in front of me. Every once and a while, I will bring my white paper out into the field to get a shot. But that usually requires two people—one to hold the background, and one to photograph. So I only do that when I can sweet talk my husband or kids into it. They are usually good sports.
I do not use a softbox or a lightbox, although both have been suggested. I spend a lot of time waiting for the sun to go behind a cloud so I can get softer lighting. I don’t have a macro lens. For the first year-plus of the blog, I didn’t have a tripod, so I often ended up using chairs or stacks of books as makeshift camera stands. I finally bought a real tripod recently, and it is helping with photo crispness a lot. I should have bought one a year ago. On the other hand, I want to emphasize that what I’ve been doing can be done without a tripod.
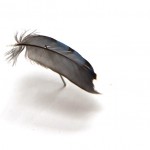
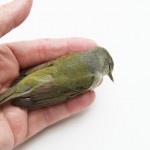
I don’t know why it took me so long to learn this, but if I can prop the subject up off the white background even a little bit, rather than have it lying flat, it provides a more natural look and softer lighting.
In Photoshop I use primarily the crop function, and the curves function. Playing with the curves tool helps me get my background nice and white without altering the lighting on the subject too much. If the image has too many shadows, I will sometimes have to use the dodge tool. I try to use as few tools as necessary to get the background white and the subject lighting right. I have learned that the more I play with tools, the less natural the results are.
I shoot one image a day, but I am usually carrying two or three subject ideas in my head at a time, because I often find myself at 5 pm, running out of light, without having posted for the day yet. So it is nice to have ideas ready to go on short notice. If I go on vacation, I will queue up a couple days’ worth of images until I can get settled in the new locale. But then I resume shooting from my new environment as soon as I can, because that is one of the joys of doing STILL blog—being present wherever I am. When I am traveling I will often use an opened page of my journal as my white background (that is how STILL blog actually started!).
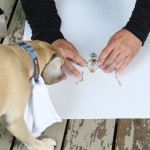
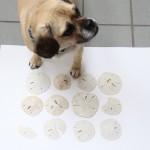
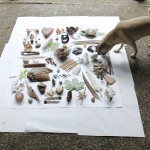
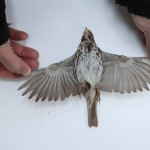
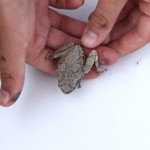
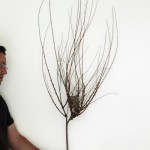
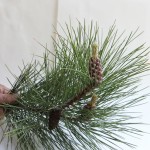
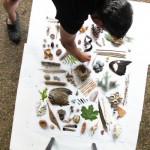
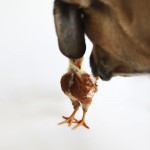
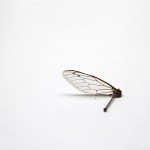
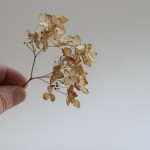
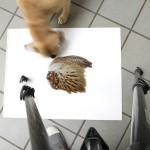
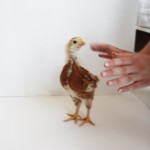
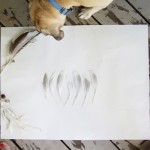
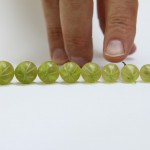
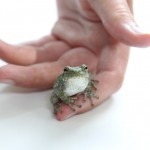
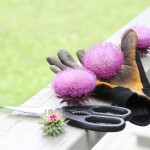
Below is a gallery of several behind-the-scenes snap shots that will show you just how varied and offbeat my set-up can get. I don’t have a studio, and generally shoot on my kitchen floor or on my deck. I truly believe with any half-decent digital camera and PicMonkey, most people could get similar results for very little initial investment.
If you read this and it inspires you to try your own STILL-like project, please share with me. I would love to see what you come up with.
Good luck!
Mary Jo
P.S. The dog’s name is Jack. He’s a puggle, and, yes, he has to sniff every STILL blog subject.
P.P.S. For more behind the scenes images of STILL blog, follow me on instagram here.


